|
|
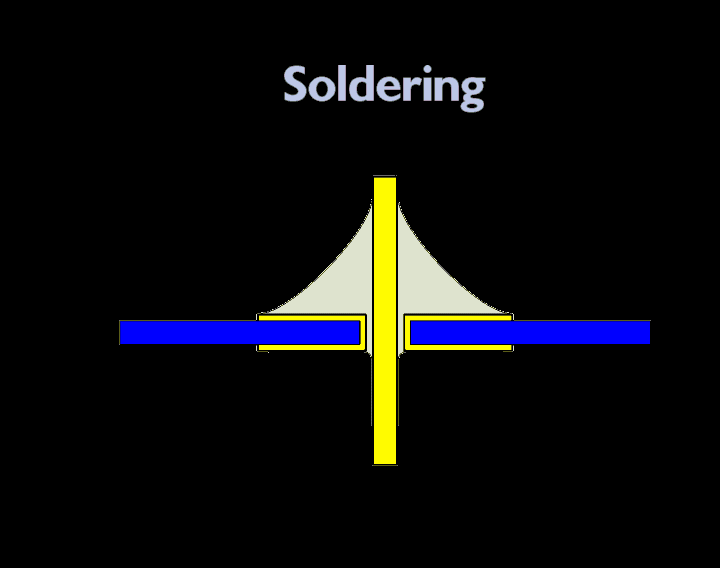
Soldering is the joining ...
|
What is solder?
|
What is solder?
|
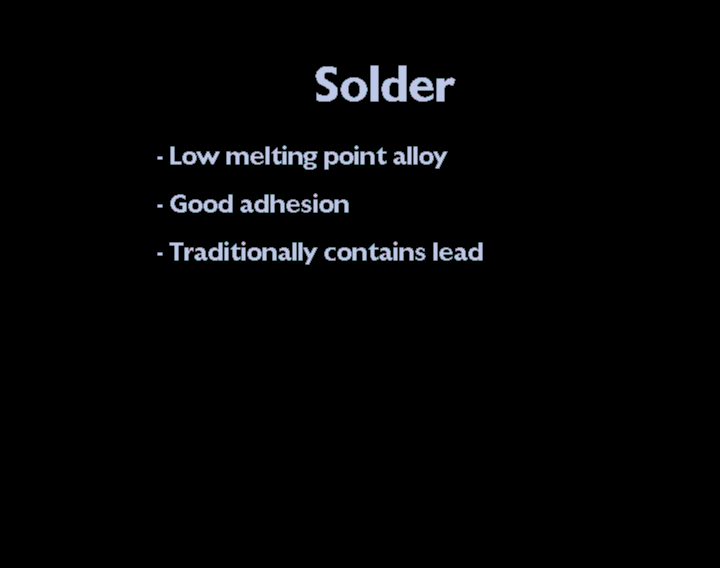
What is solder?
|
|
What is solder?
|
What is solder?
|
What is solder?
|
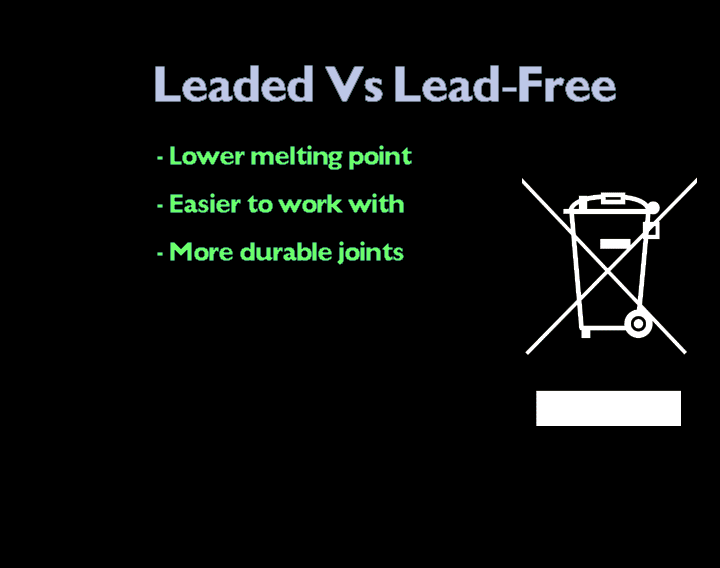
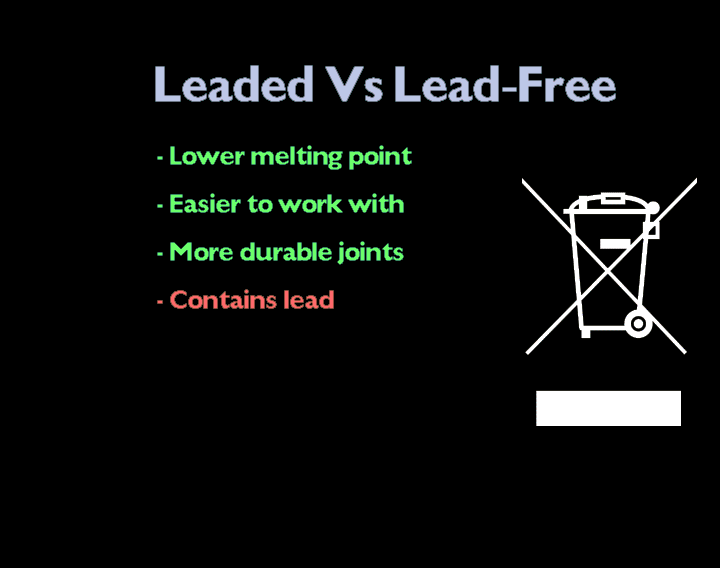
Why use leaded solder?
|
Why use leaded solder?
|
|
Why use leaded solder?
|
Why use leaded solder?
|
Why use leaded solder?
|
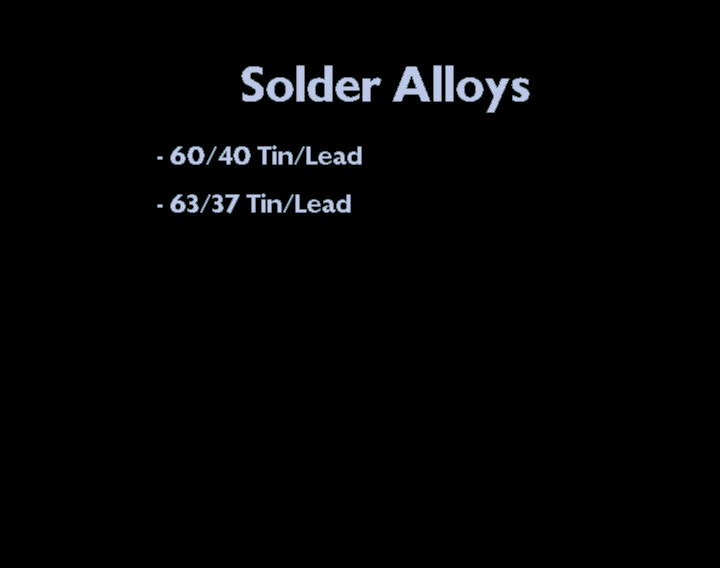
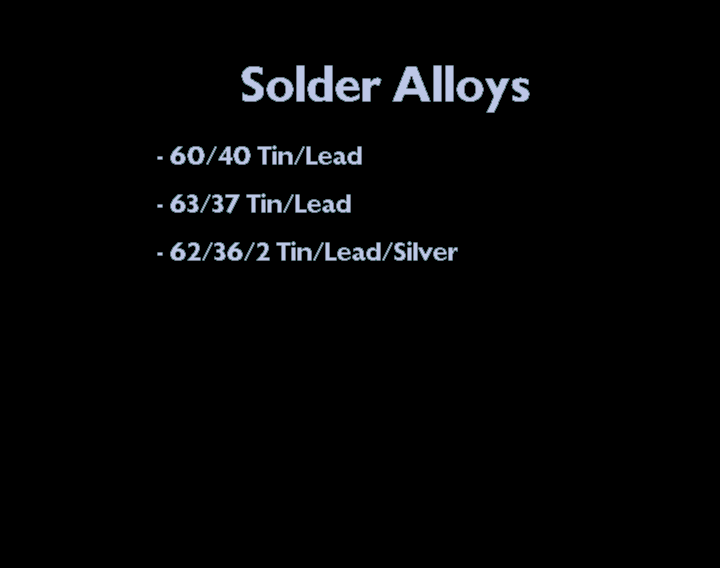
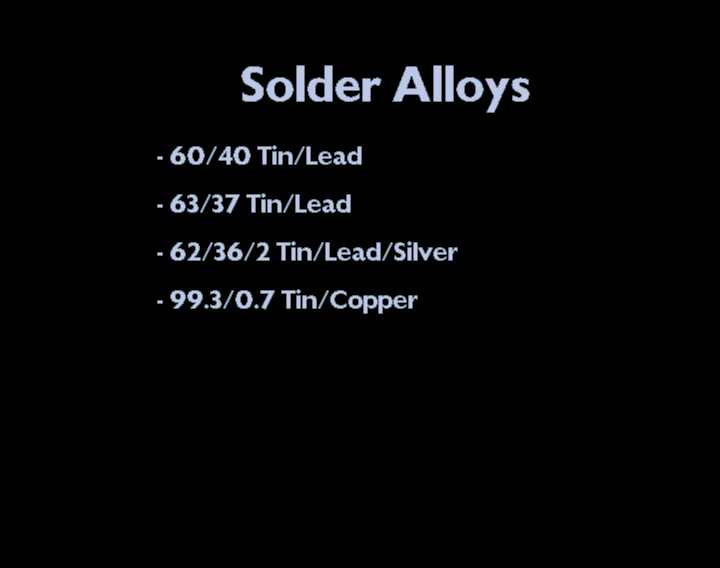
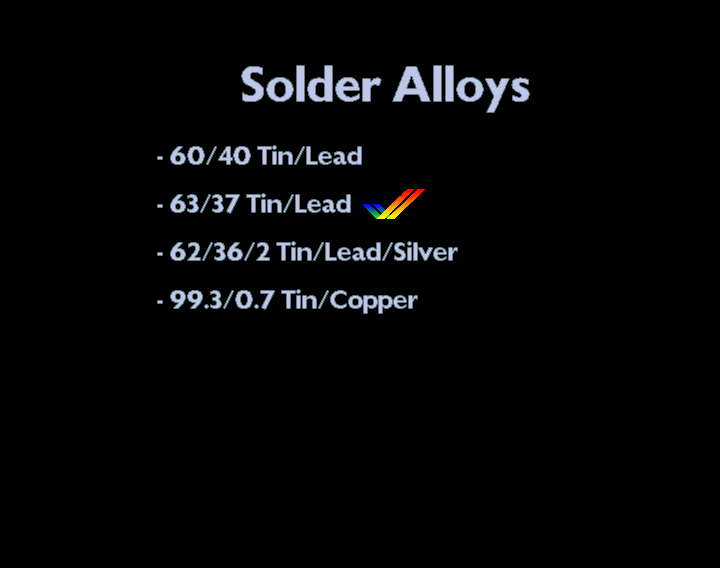
A look at some common sol...
|
Cheap, widely used in ind...
|
|
A little more expensive t...
|
Known as silver solder. H...
|
Typical lead-free solder....
|
For working on Amigas and...
|
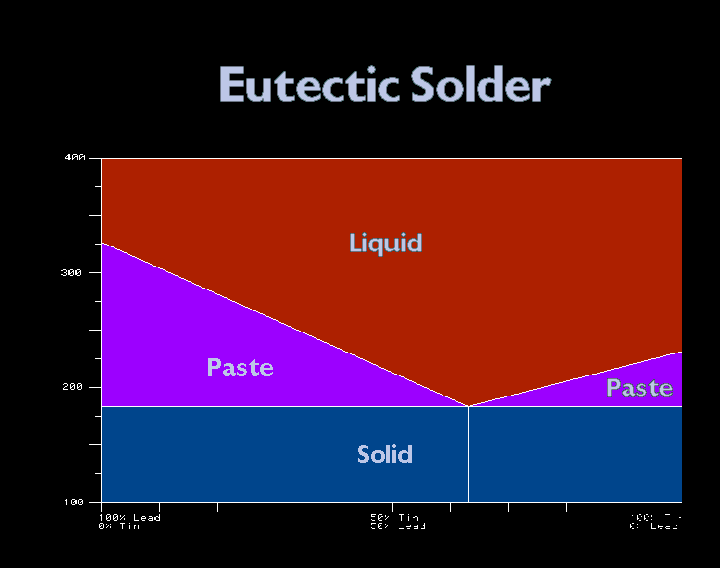
The eutectic point of an ...
|
|
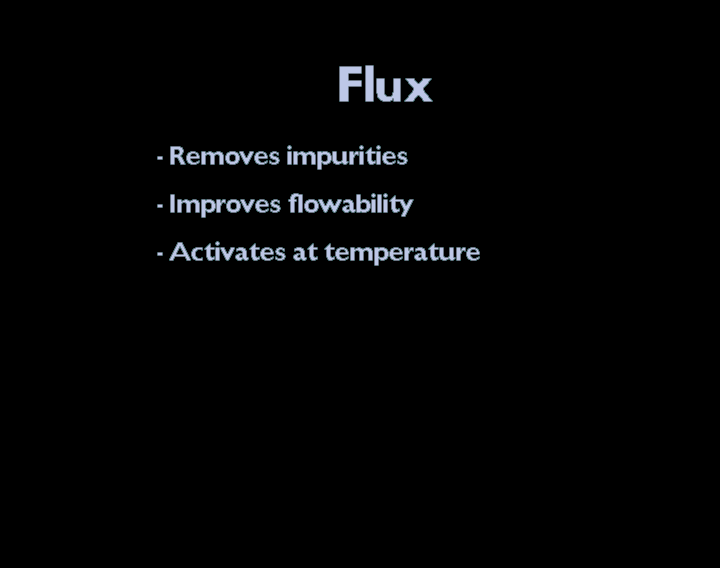
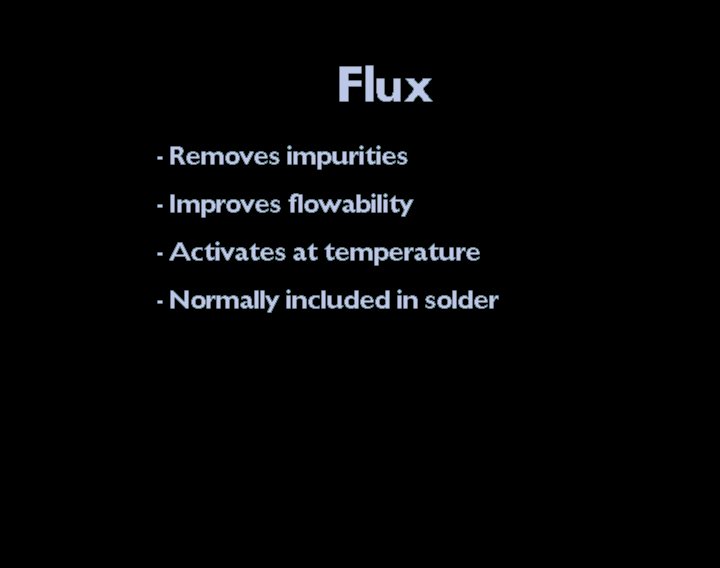
What is flux?
|
It carries away any impur...
|
It helps solder flow even...
|
It starts to work at arou...
|
Wire solder normally cont...
|
|
|
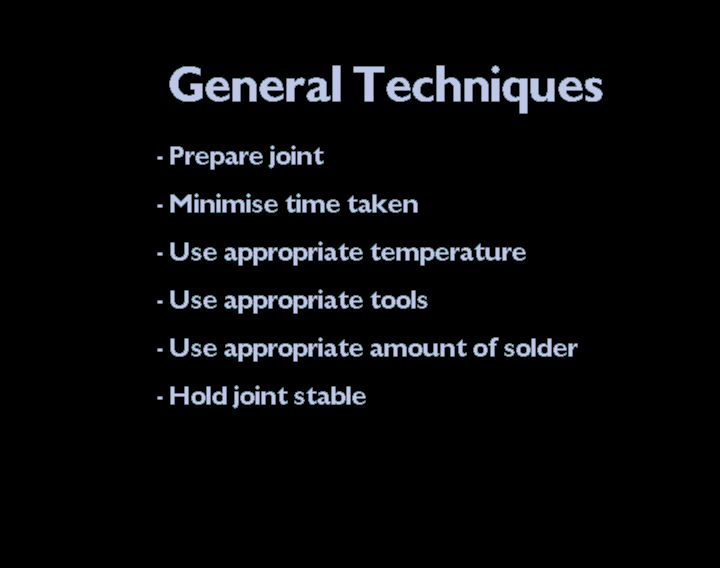
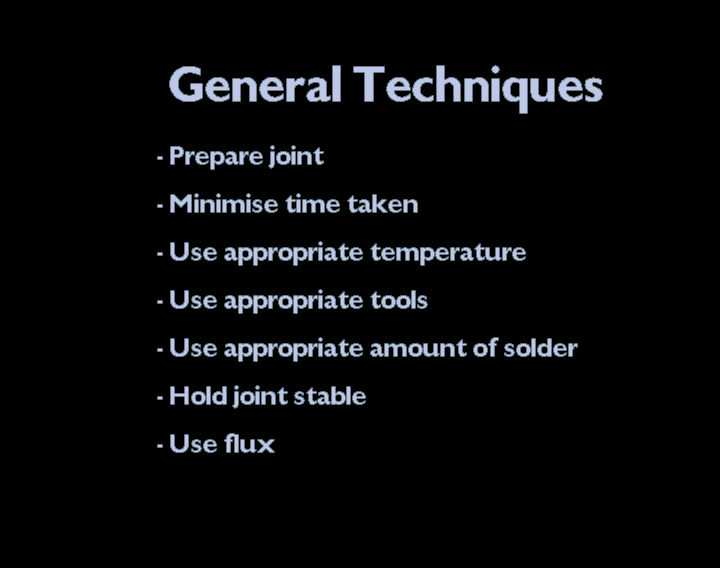
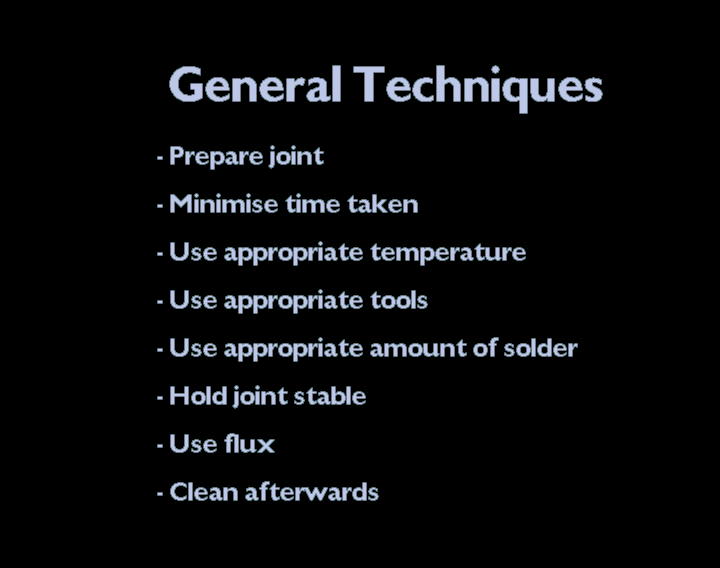
Make sure joint is clean,...
|
Too much time soldering a...
|
Too high a temperature wi...
|
Invest in proper tools - ...
|
|
Too much solder risks sho...
|
If the joint moves while ...
|
Use solder containing flu...
|
Clean around the joint wi...
|
Some good technique for s...
|
|
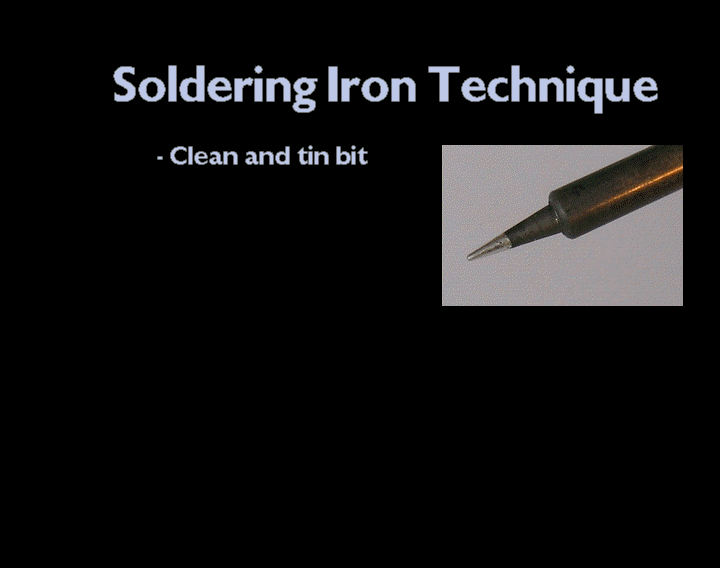
Use a damp sponge or bras...
|
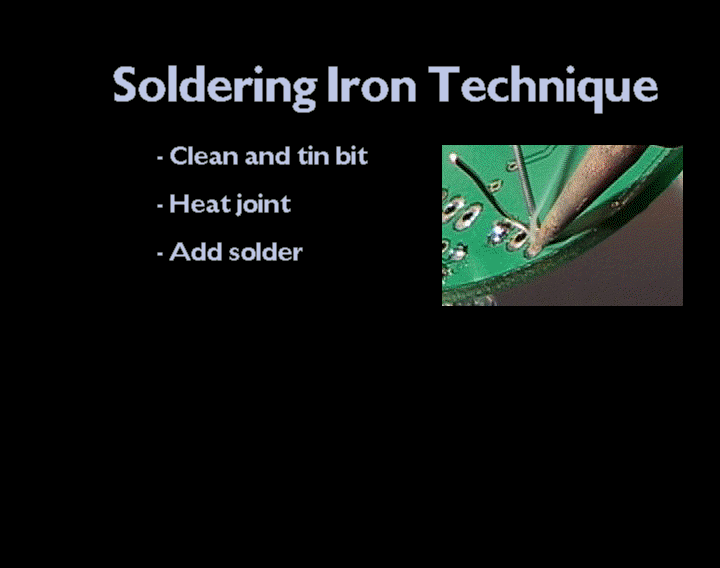
Position the tip so that ...
|
Feed the solder into the ...
|
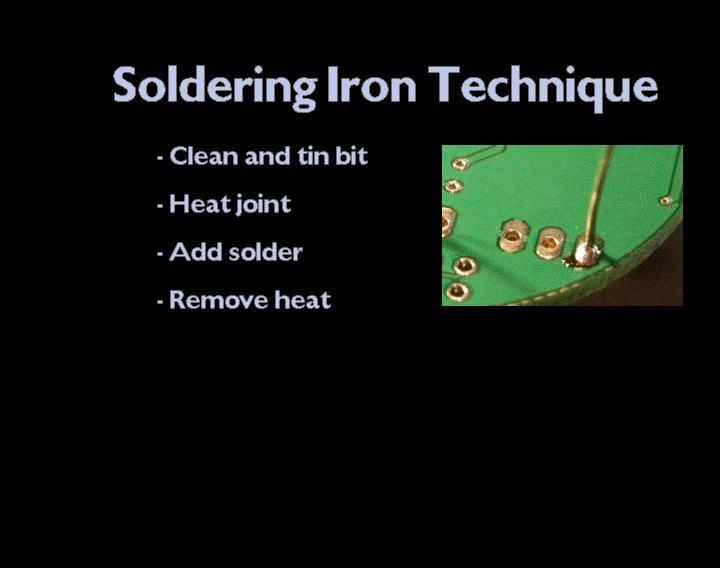
Remove the iron once all ...
|
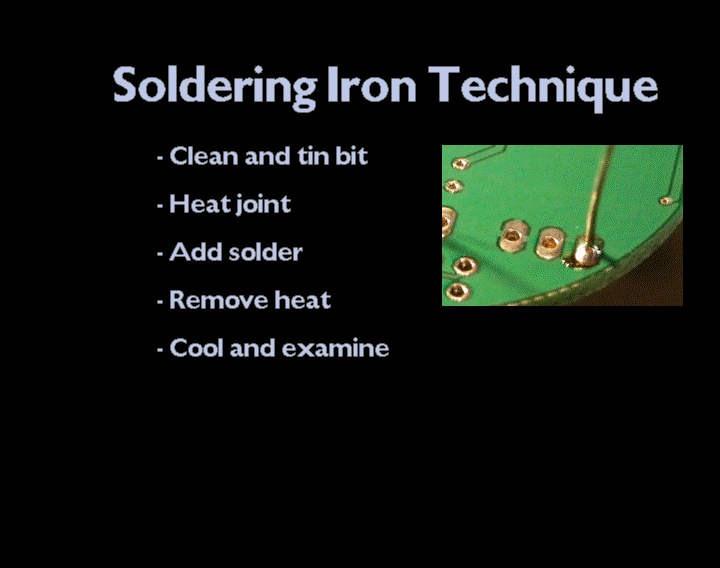
Let the joint fully cool ...
|
|
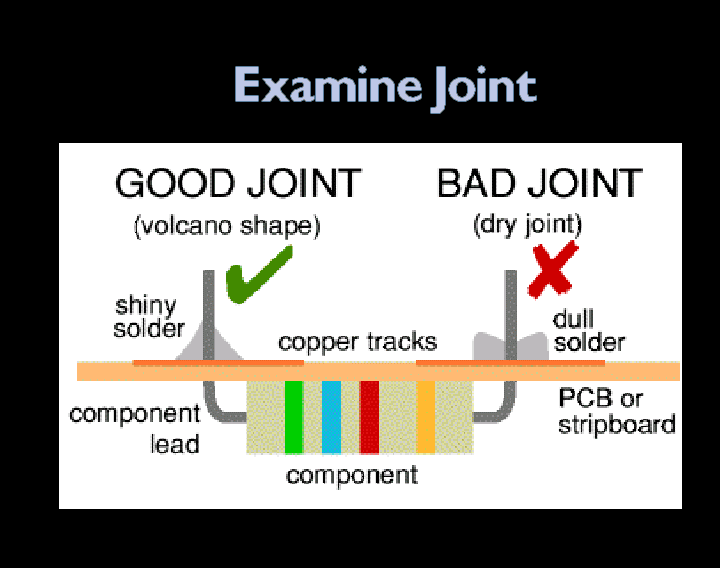
A healthy joint will be a...
|
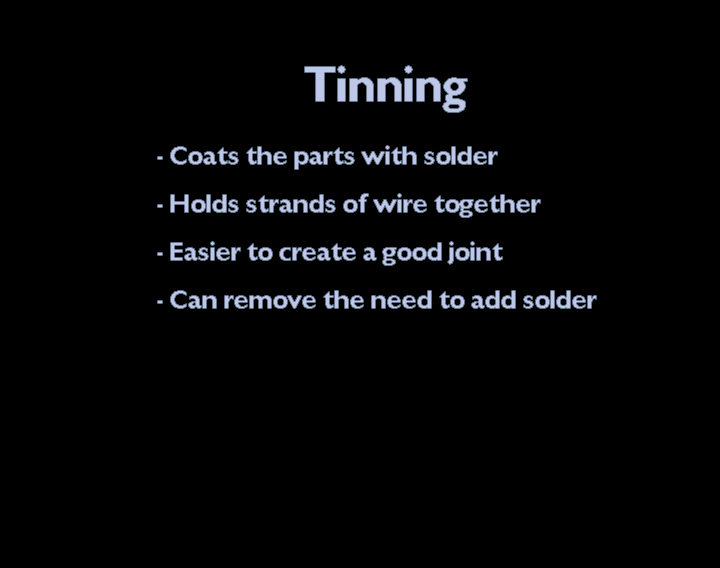
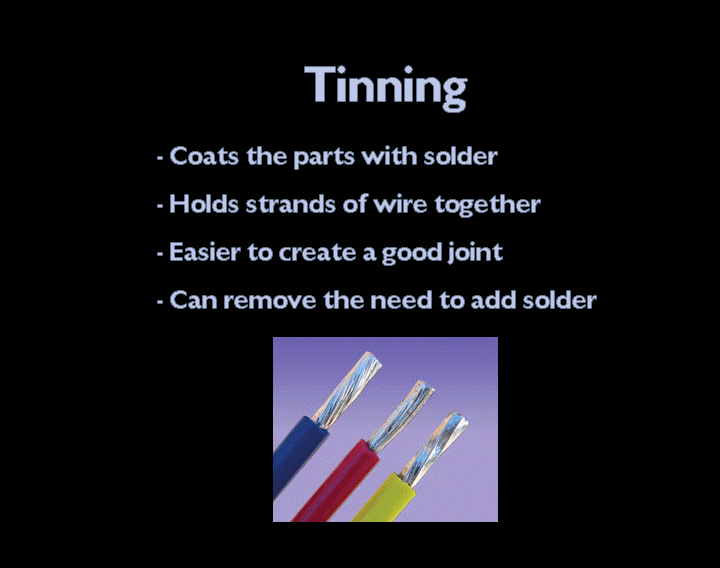
What is tinning?
|
What is tinning?
|
What is tinning?
|
Having solder already pre...
|
|
With enough solder tinned...
|
Tinned stranded wire shou...
|
Some general desoldering ...
|
Desoldering braid is brai...
|
Larger joints might requi...
|
|
Try to push the braid int...
|
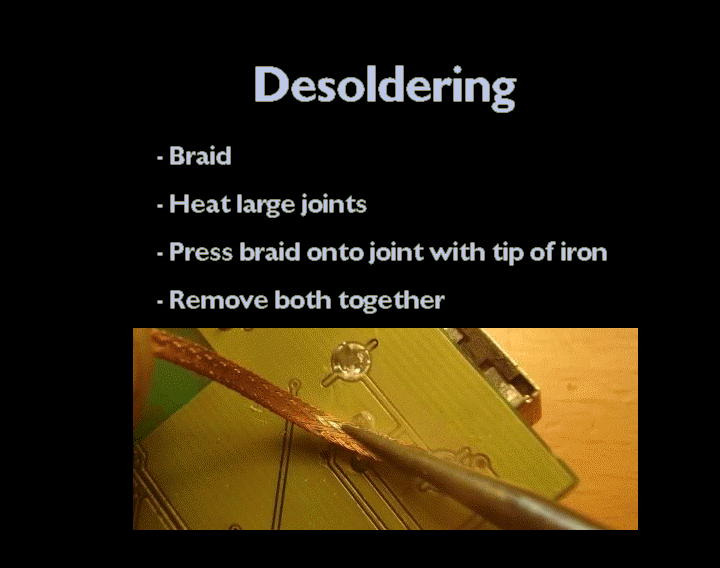
Once the solder is soaked...
|
It will look something li...
|
Soldering with a hot air ...
|
Use kapton tape to protec...
|
|
Apply a small amount of s...
|
If using previously melte...
|
Place the component in ro...
|
Heat each joint evenly by...
|
The surface tension of th...
|
|
Desoldering techniques fo...
|
Using the same technique,...
|
Removing the part before ...
|
Remove the part gently bu...
|
Use desoldering braid and...
|
|
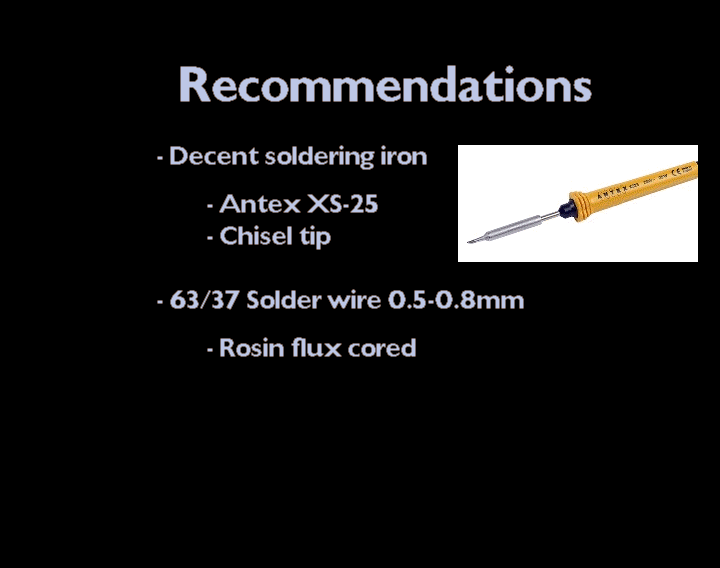
Some general recommentati...
|
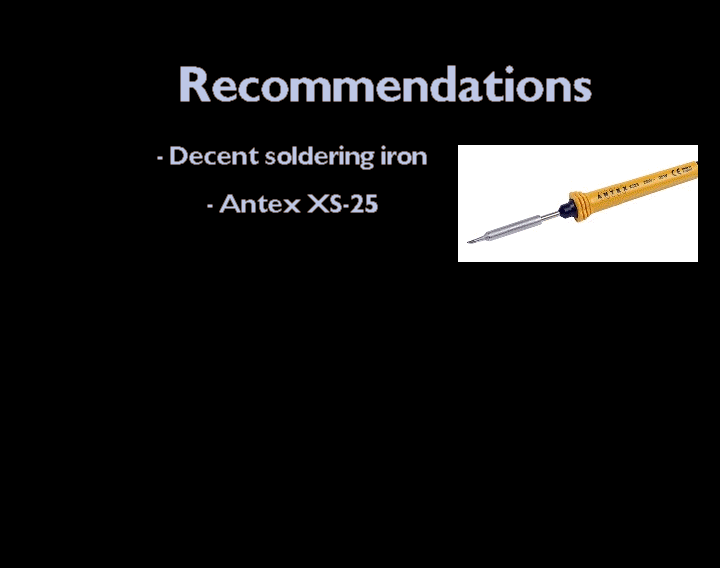
A good iron is essential!...
|
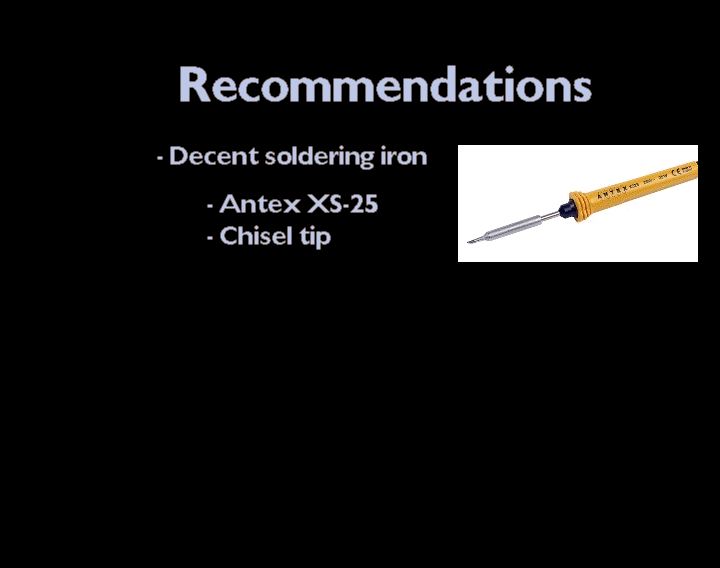
As a minimum, the Antex X...
|
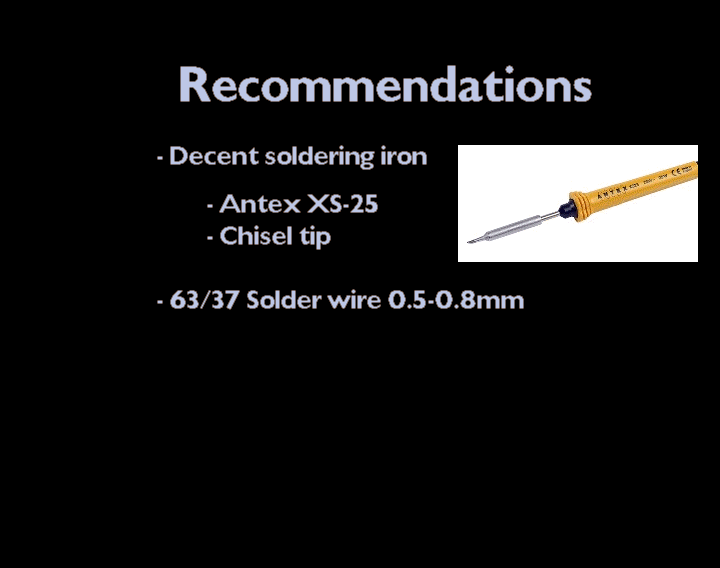
A small chisel tip is a g...
|
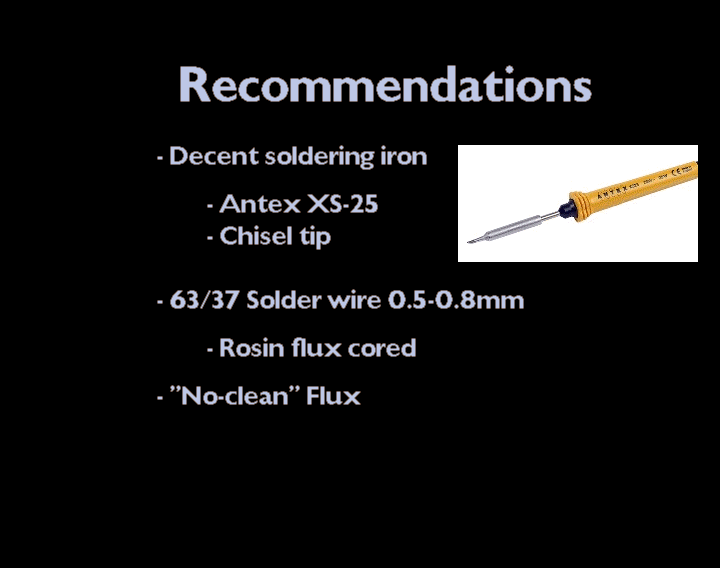
Use 63/37 solder wire bet...
|
|
Make sure the solder wire...
|
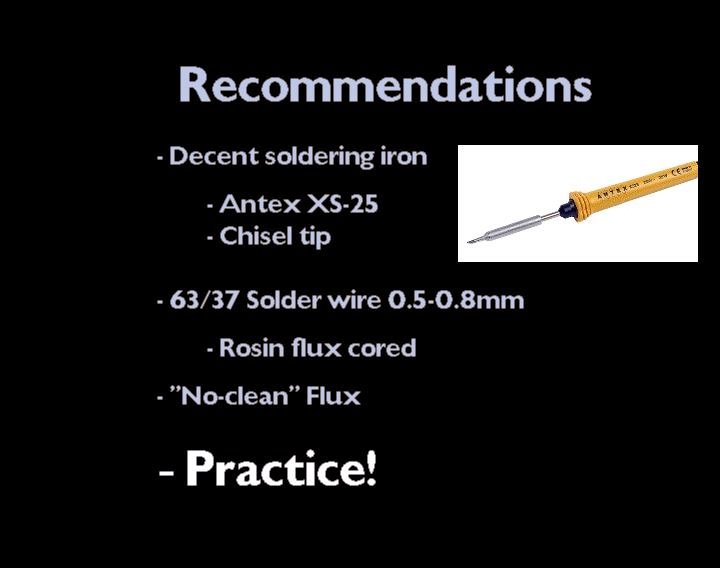
Use "no clean" flux, as o...
|
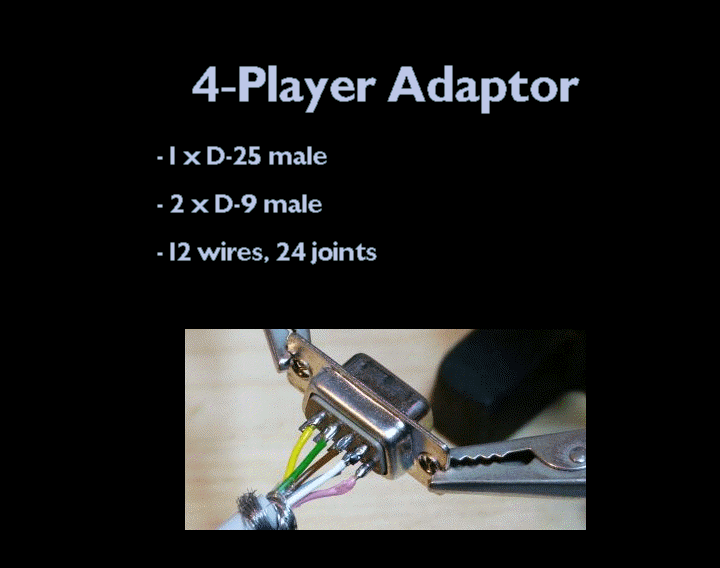
Soldering is an art form,...
|
|
|
|
|
|
|
Joints should look like t...
|
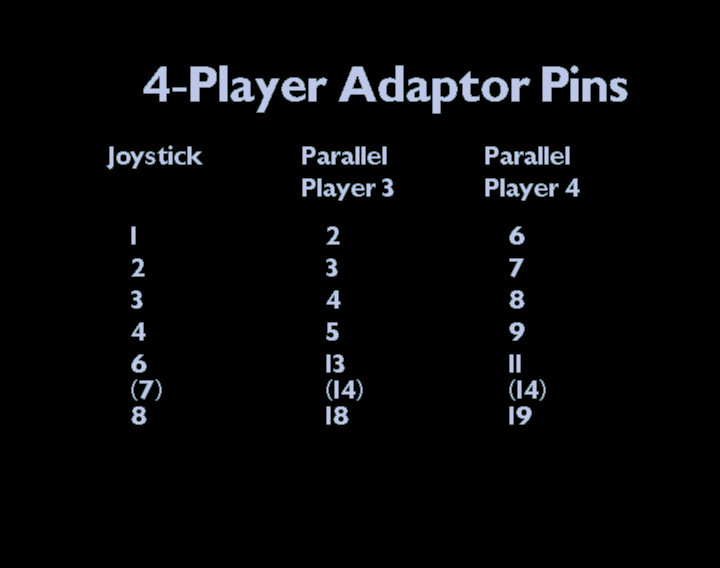
The pins to be connected....
|
|
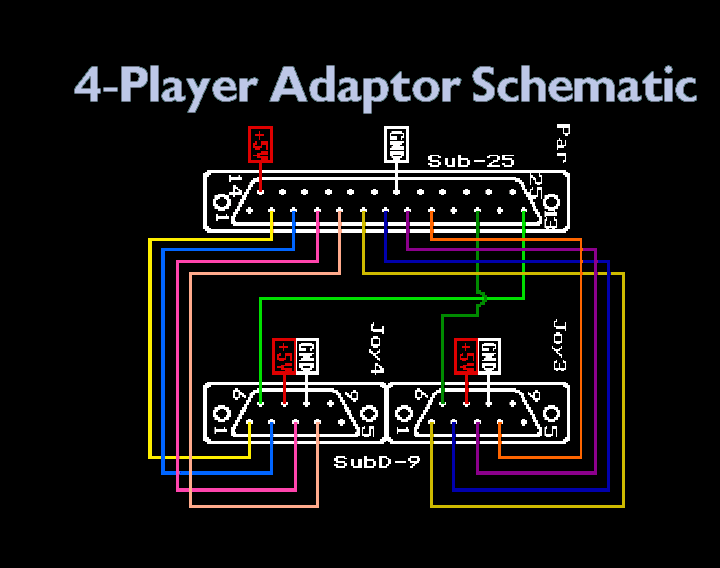
The schematic, courtesy o...
|
|
|
|
|